
Guest post
This guest post was written by David Von Lehman from Aerobatic, a simple yet powerful solution for static website publishing.
In this blog post we'll look at how to use Bitbucket Pipelines to automatically build a website using a static site generator. This example will use Jekyll, but the same formula will work with any generator including Hugo, Middleman, Pelican, Gatsby, and many more. We'll automatically deploy the built site to Aerobatic, a dedicated static website hosting platform. Finally we'll explore how to combine the capabilities of Bitbucket, Pipelines, and Aerobatic to enable a production release workflow based on branches and pull requests that is optimized for teams.
Step 1 – Create new Jekyll site in Bitbucket
Create a new Jekyll site locally. We can do this by simply running the jekyll create command.
$ jekyll create
$ bundle install
To verify the site builds correctly locally, you can run jekyll serve and take a look at http://localhost:4000.
Now that we have a website, create a Bitbucket repo and push up the code. Our sample repo is named jekyll-pipelines. The full source code available at https://bitbucket.org/aerobatic/jekyll-pipelines.
$ git init
$ git remote add origin ssh://git@bitbucket.org/BitbucketUser/jekyll-pipelines.git
Make sure the _site directory appears in the .gitignore file. Since Bitbucket Pipelines will be building the site from scratch, we don't want the build output in source control.
Ok, now go ahead and push to your repo:
$ git push -u master
Step 2 – Setup Aerobatic
In this tutorial, we'll be deploying our Jekyll site to Aerobatic, a specialized static website hosting service. It just takes a minute to get up and running:
- Create a free account at https://www.aerobatic.com
- Install the CLI tool with npm install aerobatic-cli -g
- Open a terminal locally and run aero login
Now we need to create an Aerobatic website for this repo. At the root of the project run the following command:
$ aero create --name jekyll-pipelines
To keep things consistent, I'm naming the website the same as the repo. This will create a file called aerobatic.yml that you'll want to commit to Git.
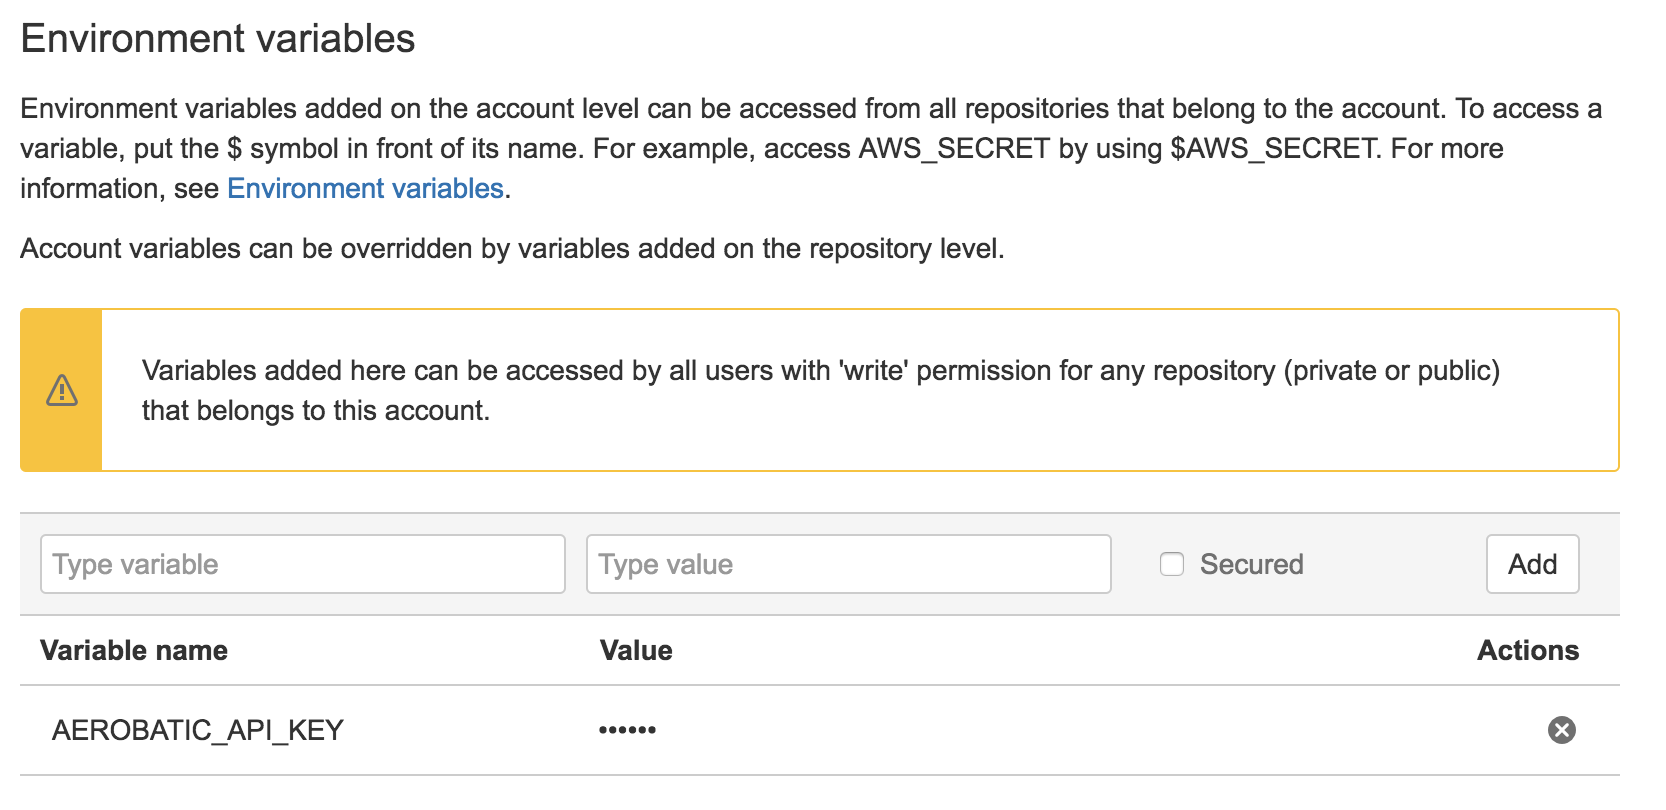
Before running the pipeline, we need to set the AEROBATIC_API_KEY Pipelines environment variable. Environment variables can be set either at the repo level or the account level. We recommend setting it at the account level so you don't have to repeat this step for future projects.
Retrieve your API key by running the following:
$ aero apikey
Paste it into the value box and click the Secured box.
Step 3 – Create bitbucket-pipelines.yml
Now we need to configure Bitbucket Pipelines to build our Jekyll site whenever a push is made. First make sure to enable Bitbucket Pipelines on your repo and create a new bitbucket-pipelines.yml file. Since Jekyll is Ruby based, we'll want to specify a Docker image that has Ruby and Bundler already installed. Aerobatic has published an image to Dockerhub called aerobatic/jekyll that has Ruby already installed along with the necessary low-level libraries required to build most native gem extensions. You can checkout the Dockerfile at https://github.com/aerobatic/docker/blob/master/jekyll/Dockerfile.
Speaking of Docker, there are 3 Aerobatic images available on Dockerhub: aerobatic/jekyll, aerobatic/hugo, and aerobatic/node. Each is based off the ultra-small Alpine base image and has the aerobatic-cli pre-installed avoiding each Pipelines build from having to npm install it from scratch.
Here's the entire bitbucket-pipelines.yml file:
image: aerobatic/jekyll

clone:

  depth: 1

pipelines:

  default:

     - step:

         script:

           - '[ -f Gemfile ] && bundle install'

           - 'echo "url: https://__baseurl__" >> _config.yml'

           - bundle exec jekyll build

           - aero deploy --directory _site
The script section is the actual set of commands that will be carried out inside the provisioned Docker container.
- The first line with run bundle install if a file named Gemfile exists (which in our case it will).
- The second line appends a value to the _config.yml overriding the url config setting. Even if the URL is defined earlier in the file, Jekyll will take the last value. The value "https://__baseurl__" is a special value that Aerobatic will replace at runtime with the appropriate site URL.
- Next run bundler to build the site
- Finally deploy to Aerobatic by running aero deploy. The –directory site option tells it that the files to deploy are located in the _site directory where Jekyll wrote the generated site to. Normally aero is installed by running npm install aerobatic-cli -g, but since we are using the aerobatic/jekyll image, it is already present.
Step 4 – Trigger a build
That's it for setup, now let's trigger a build. Commit the bitbucket-pipelines.yml to your repo and that should trigger your first build. If all goes according to plan the log output will look like this:

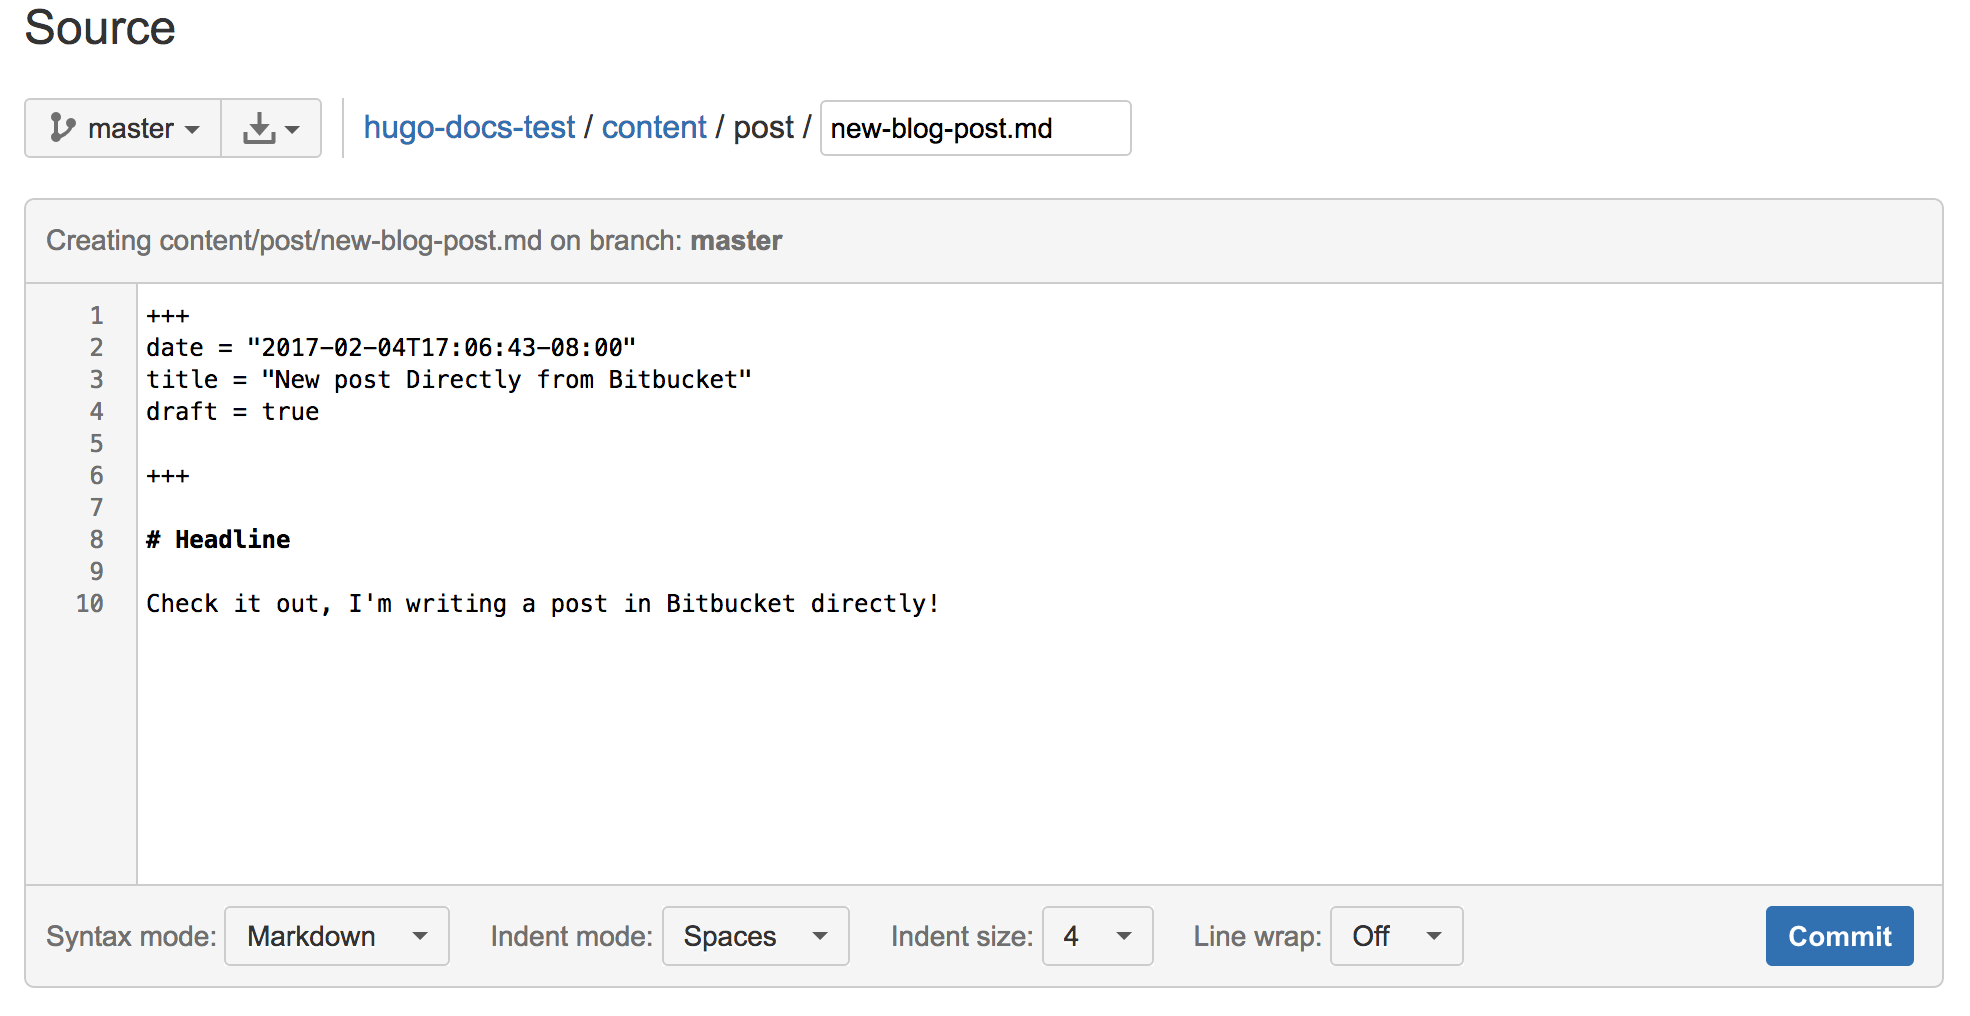
And just like that, you have a first class git push based deployment workflow for your website. With this setup it's even possible to use the browser editor to make content updates or author simple blog posts without ever leaving Bitbucket.
Deploying with pull requests
The simple workflow above works great for a site where one or two people maintain the site. But what about a larger team with multiple developers, content contributors, and stakeholders? In agile software development projects, Git pull requests have emerged as the preferred workflow for promoting changes through a series of deploy stages culminating in production. With Bitbucket Pipelines and Aerobatic, this same workflow is easily achieved for static website deployments. Let's assume the same repository structure suggested in the Bitbucket Pipelines guides:
| master | Your integration branch |
| staging | Use this branch to trigger deployments to staging |
| production | Use this branch to trigger deployments to production |
| features/xxx | All feature branches |
In addition to the production instance of the website, we also need a staging instance. Aerobatic provides a feature called deploy stages that makes this really easy – just pass a –stage option to the aero deploy command.
$ aero deploy --stage staging
This command above will deploy the build output to a URL https://jekyll-pipelines–staging.aerobatic.io. In the bitbucket-pipelines.yml we use branch workflows to configure a different target stage for the production and staging branches:
image: aerobatic/jekyll

clone:

 depth: 1

pipelines:

 default:

   - step:

       script:

         - '[ -f Gemfile ] && bundle install'

         - 'echo "url: https://__baseurl__" >> _config.yml'

         - bundle exec jekyll build

 branches:

   master:

     - step:

         script:

           - '[ -f Gemfile ] && bundle install'

           - 'echo "url: https://__baseurl__" >> _config.yml'

           - bundle exec jekyll build

           - aero deploy --directory _site

   staging:

     - step:

         script:

           - '[ -f Gemfile ] && bundle install'

           - 'echo "url: https://__baseurl__" >> _config.yml'

           - bundle exec jekyll build

           - aero deploy --directory _site --stage staging
NOTE: The Aerobatic free plan is limited to shared *.aerobatic.io domains, but deploy stages also work with custom domains available on the Pro Plan.
Now the workflow becomes:
- Developers (or content contributors) create feature branches to commit their work. Developers run jekyll serve locally to preview their changes. When ready, they issue a pull request to the staging branch.
- An approver accepts the pull request, which merges the changes into the staging branch.
- This triggers a build of the staging branch which will deploy the site to the staging URL: https://jekyll-pipelines–staging.aerobatic.io for stakeholders to review.
- After review, another pull request is made from staging to master. Once approved and merged, the master pipeline will be automatically triggered, which deploys to the production URL: https://jekyll-pipelines.aerobatic.io.
Using Bitbucket permissions you can lock down the workflow to whatever degree you like. For example, you can require that staging and master branches must be updated via pull requests, and specify which users have permissions to approve pull requests. A good rule of thumb is to allow everyone to merge to staging, but only senior personnel to update master (and by extension, deploy to production). The screenshot below shows this configuration:
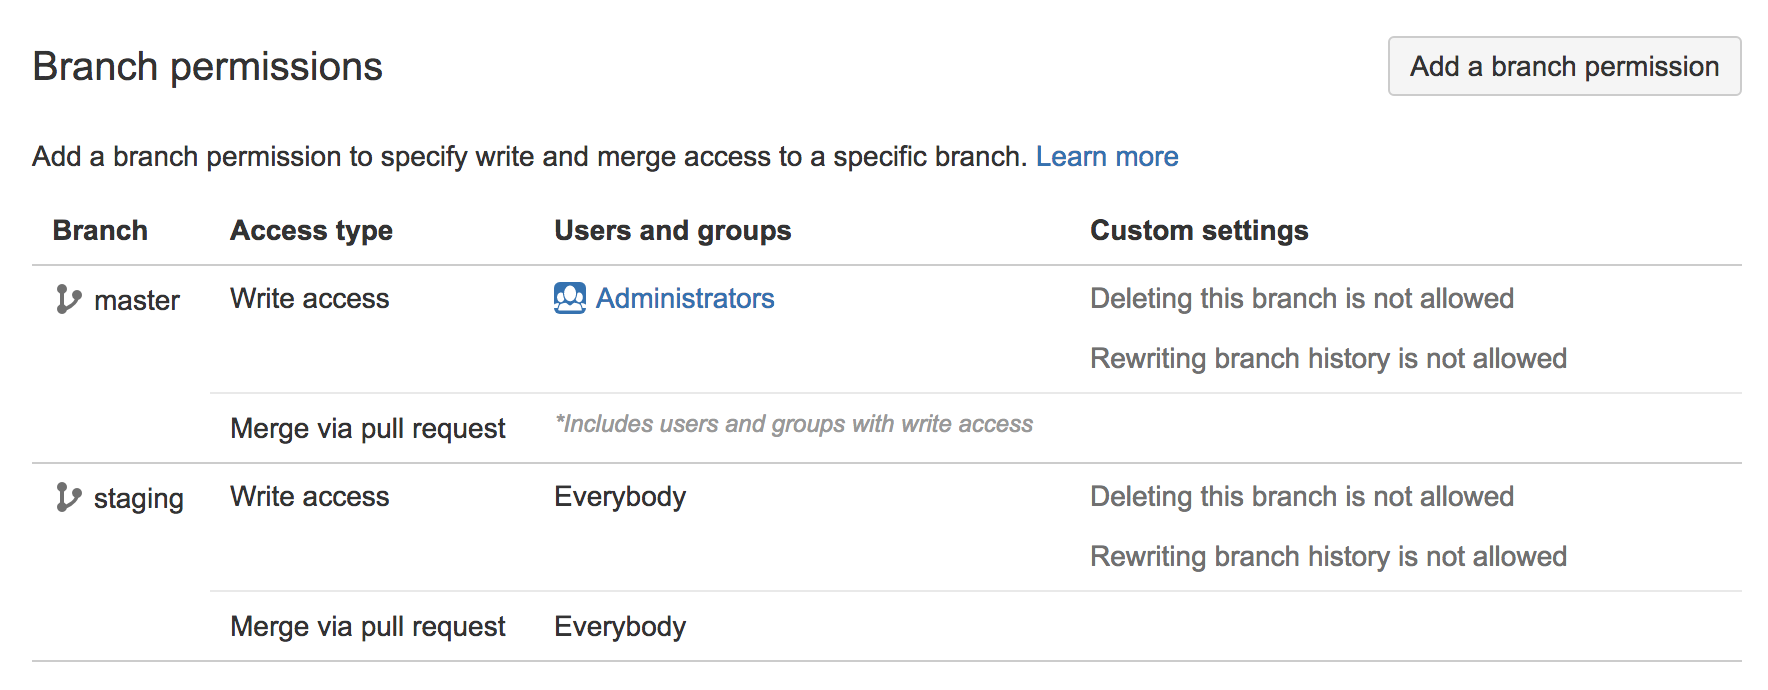
See the Bitbucket Pipelines docs for more details on configuring branch permissions.
Protecting the staging URL
One lingering detail is preventing the general public from stumbling across the staging site URL. This can be addressed via the Aerobatic password-protect plugin that is declared in the aerobatic.yml file:
id: b74e6fb8-e747-4fb4-bd1b-1f92804ace5c

deploy:

 ignore: []

 directory: .

plugins:

 - name: password-protect

   stages: [staging]

   options:

     password: $PASSWORD

 - name: webpage
The stages property specifies that the password-protect plugin only applies for https://jekyll-pipelines–staging.aerobatic.io. More details can be found at https://www.aerobatic.com/blog/password-protect-a-jekyll-site/.
Content as Code
Over the last several years there has been a trend within DevOps to manage as much of a software system, including the configuration settings and infrastructure definition, as plain text files committed to version control right alongside the rest of the source code. You may have heard the terms "Configuration as Code" or "Infrastructure as Code" that refer to this approach. Aerobatic encourages the practice via the aerobatic.yml file which defines metadata, deploy settings, and runtime behaviors (such as plugins) for the website.
There's a strong argument to be made that this same practice should apply to website content including markdown files, images, etc. Rather than locking content up in a CMS database with its own proprietary mechanisms for backups, auditing, history, approvals, etc., just put it in Git or Mercurial and treat it like any other source asset. With the deployment workflow described above, you'll then have a universal build pipeline regardless of whether the change was committed by a developer or a content contributor.
Now this does present a paradigm shift for content editors that are accustomed to a less techie CMS interface. Fortunately there are a new breed of CMS tools and services that bridge the gap – providing a friendly editing interface but using version control as the underlying data store. Examples include CloudCannon, Forestry.io, DatoCMS, kirby, and other flat-file CMSes.
Doing More with Plugins
The password-protect plugin is just one of many plugins offered by Aerobatic that provide enhanced functionality beyond what is possible with vanilla static hosting. All plugins are configured in the aerobatic.yml file. Some other popular plugins include:
- http-proxy – used to invoke remote URLs that can't be reached directly by the browser, or where extra headers or credentials need to be appended to the request.
- form-submit – post HTML forms and receiving the inputs via email or webhook integrations.
- redirect – declare HTTP redirect rules
- custom-errors – declare a custom page for 404s and other errors
Conclusion
That's it – we now have a first rate team based deployment workflow complete with private staging environment, streamlined approval workflow, and fully automated deployments – all with no infrastructure to maintain and no DevOps engineering. Everything is being treated "as code", safely stashed away in Bitbucket where pull requests, branches, history tracking, and all the other benefits afforded by version control can be applied. This includes the site html, templates, css, JavaScript, configuration, and content.
This same setup works not only with static site generators like Jekyll or Hugo, but also sophisticated single page web applications such as React or Ember. You can learn more about continuous deployment of static sites with Aerobatic and Bitbucket over on the Aerobatic blog.
Happy coding (and deploying)!


